Saturday, December 25, 2010

Christmas Day Santa

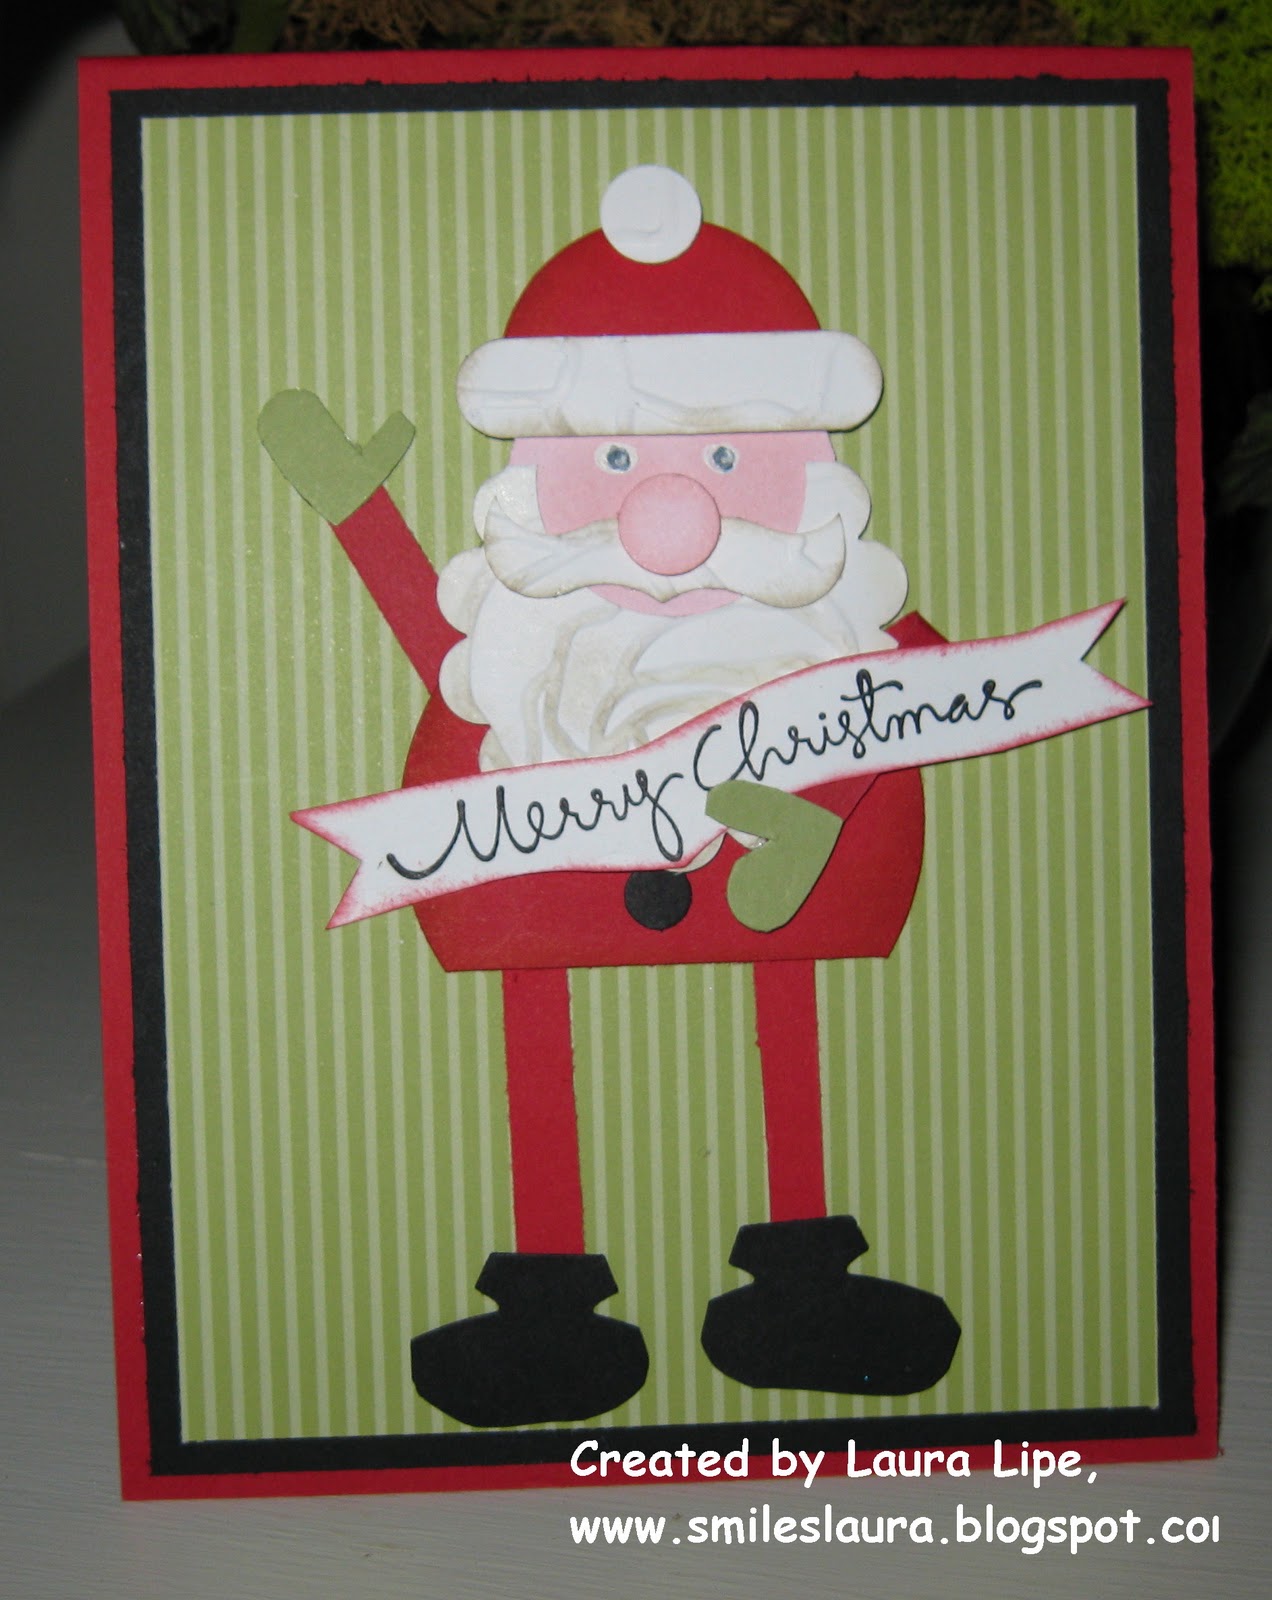
Merry Christmas!! I hope you are knee deep in wrapping paper and joyful family togetherness!  I've saved this Santa to share today.  I just love him!  I know you've seen alot of cards with Santa's face, but again, I had to do something just a tad different.  You KNOW I've been on a cardinal kick this year.  So I had to put a cardinal, rather than holly or mistletoe on Santa's cap!

The card itself is Wild Wasabi with a Basic Black mat and a Pink Pirouette front.
                                   
I used the Manhattan Flower for his beard and mustache and doesn't it look like curling hair!  I used the Perfect Polka Dots die for the edge of the hat. The mustache was cut using the Top Note die.

Here is a close up of that little cardinal fellow.  I see them outside at my feeder every day and never tire of these colorful birds!
I hope you are having a wonderful day!! I'll be absent the next few days--we are going to visit our son for Christmas.  I'll be back for New Years!  Have a wonderful holiday season. 

Thanks for coming by!  Smiles, Laura

Friday, December 24, 2010

Folded Tree....

Here is a card I sent to some of our friends.  (I make several card designs each year because I get bored making 140 ro 150 cards just alike.)  Anyway, I decided early on that I was going to make alot of this one, so I started them in August.

The card itself is Wild Wasabi (yes, I do use that green alot) and it is layered with the Patterns DSP Stack in the dots.  he tree is cut using the Scalloped Circle die from the Patterns DSP Stack stripe sheet.  I cut the circle in half and then folded it 4 times to form the tree. 
The sentiment is from the Teeny Tiny Wishes set.

I put Pearls Jewels on the tree. They really dress the tree up.  These stand out a lot so I tried not to mail many of these, but to use them on cards I can hand-deliver. 

I hope the receipents liked this one!   Smiles, Laura

Thursday, December 23, 2010

Folded Christmas tree...

My husband asked me to make a special Christmas card a couple he contracts with and since I'd been meaning to try this tree by Karen Ewert, I thought I'd try it for this couple  You can see Karen's cards and instructions for folding the card here.  Karen's health prevents her posting to her blog now, but she has left if up so we all can benefit from her instructions and videos she previously posted.
 I used the Wild Wasabi DSP from the Pattern DSP Stack for the tree.  The card itself is Wild Wasabi matted in white.  I had stamped snowflakes all over the white using the snowflakes from the Serene Snowflakes set.  I find I use that set so often!

The Peace on Earth is from the Four the Holidays stamp set.
Here is a close-up of the tree.  I put the Pearl "Jewels" on it for "ornaments."  The tree is on an oval cut with the Scalloped Oval die from Bashful Blue CS.  I topped the tree with a Circle Ice Rhinestone Brad.

Hubby was pleased with the card to send to his friends.  Hope they like it.  Smiles, Laura

Wednesday, December 22, 2010

Triple snowmen....

Recently my friend the very talented Holly Craft posted this picture of her new grandson Jackson and a stocking she bought him on her blog (here).  Holly was adding his name to the top of the stocking.  I was just taken with this picture.  Not only is Jackson a DOLL and Holly's photo taking skills the best, but the snowmen on the stocking were just darling.  I just had to try making a card with these three fellows.  (Remember, you get your inspiration wherever you find it.)
 I snapped a picture of Jackson's picture with my card.
 So here is my card.  The card is Bashful Blue, layered with Marina Mist, and topped with Cherry Cobbler.  The original stocking is more Real Red, but I wanted to use the Cherry Cobbler.  I used the 1-3/8" circle punch for their heads.  I also used the second to the largest circle on the Circles #2 die for the bodies. 
Here is a closeup of the faces.  I drew in the eyes and the "x" buttons.  And I used the markers for the lines on the cap and scarves. 
Hope this inspires you to look around at purchased Christmas cards, napkins, stocking, all sorts of things for your inspiration. 

Come back for more Christmas cards later in the week.  Thanks for visiting.  Smiles Laura

Tuesday, December 21, 2010

Welcome Christmas Into Your Heart...

Here's some colors I haven't used much this Christmas--Blushing Bride and Bravo Burgundy.  Isn't this a soft-looking card?
 The card itself is Blushing Bride, matted with the Bravo Burgundy.  The dotted designer paper comes from the In Colors Pattern DSP Stack.

OK, on this one again I used a retired set---but just because I love these trees. They are from the Patterned Pines Hostess Set.  I stamped them in three colors--Blushing Bride, Bravo Burgundy, and Pear Pizzazz.

The sentiment is from the Heard from the Heart set.

I topped each tree with a rhinestone jewel to give it a festive look.
Thanks for stopping by today.  Smiles, Laura

Saturday, December 18, 2010

Circle Santa

Today I just had to share with you my little Santa made with a 2" circle punch cut flat on the bottom (my 2-1/2" circle punch is on its way to me from Stampin' Up! and would be a better body--a little bigger!). 

The hat is cut using the 1-1/4" circle and so is the face. 
 To make the beard, I first ran white cardstock through the Manhattan Flower embossing folder to get some dimension on it.  Then I punched it with the Scallop Circle punch.  I used the 1" circle punch to cut out for the face.  The fur hat trim is punch from the same embossed sheet using the Word Window punch, cut a little short to fit the hat.  I used the bottom of the Curly Label punch to cut off a piece to use for the mustache.  You can see on this one the I popped up the nose with a dimensional to make his face look more realistic.
 Here is another Santa -- he is a bit taller than the first  The placement of the head on the body determines how tall the Santa is going to be.
 His hands/mittens are the Heart Small punch, trimmed to show thumbs.  Legs and arms are just strips of red cardstock I freehand cut.  His elf shoes are punched with the ornament punch for the top around the ankle and then freehand cut to form the foot part.

Here is another close up of this Santa's face.  I show two because for this one's mustache, I used the SIDE, rather than the BOTTOM of the Curly Label punch to cut the mustache and I think I like the more narrow mustache better.  I sponged  Crumb Cake around the white beard, mustache and hat trim to make it show up.  On this Santa, I popped up his head with dimensionals.  I like that better.
                                    
The sentiment on this card (MERRY CHRISTMAS) is from the Christmas Greetings stamp set.  I just cut around it and then sponged on some red  around it.  Oh and I should add that the card itself is Real Red cardstock, matted with black, and the card front is Pear Pizzazz from the Patterns DSP Pack.

I believe this is one of my favorite cards I've made this Christmas.  Funny how you make a card and it's your favorite; you make another and like it best, and on and on.  I truly LOVE designing Christmas cards.  I have a few more gift card holders I need to make and then will start focusing on Valentines!  Love these holidays!!

Have a great day!  Thanks for visiting my blog!!  Smiles, Laura

Friday, December 17, 2010

Dasher....

You know, I was thinking I haven't posted a card using Dasher all winter.  I used him last year alot for my Christmas cards.  Then I got to checking and realized that Dasher is a retired stamp!  How sad!  I usually don't demonstrate in class nor post cards with retired stamps but I have on occasion.  So I'll post this card.
This one is the same layout I posted yesterday--card, matting and top layer using the Northern Flurry embossing folder.  Again I put the sentiment in the lower right hand corner and the image in a matted circle.  But look how different this one is!  I used Crumb Cake, Soft Suede and Very Vanilla for this one. 

There's no limit to what you could do with this layout--any sentiment and any image.  Go try it yourself!
Smiles, Laura

Ed.note:  Thanks to Jennifer and Vicky for reminding me that Dasher is not retired!!  I just missed him in my catalog---I THOUGHT he was current but couldn't find him when I posted this.  Thanks, ladies.

Thursday, December 16, 2010

Scenic Season...

Hi!  Hope you are having a great day.  I wanted to share another Christmas card I made recently.  This one uses the Scenic Season stamp set.  I stamped it in Garden Green .  Then I matted the "snow" on the ground and punched a circle from a Post It note to put in the sky, so I could sponge some blue on for the sky.  When I removed the Post It note, I stamped the bird in red.  (I think I told you last time I used this set that I cut my bird out separately so I stamp use it in another color.  
                                     
For the white background, I embossed it with the Northern Flurry embossing folder from the Holiday Mini.  The card itself is Basic Black with Bashful Blue matting behind the white.  I stamped PEACE ON EARTH from the Peaceful Season hostess set in the Holiday Mini on the white before I embossed it.  I tied a white ribbon around the front before I put the round "scene" circle on.

 Here is a closeup of the bird and  winter "sun"
This circle is matted with black cut just a bit larger.  I did this to go with the color of the card itself.

Hope you are inspired today!  Smiles, Laura

Wednesday, December 15, 2010

Another Candy Wrapper treat....

One day last week, I showed you the candy wrappers we were making in class this month.  Well, here are some I made for my friends who are joining me for a Christmas lunch.  I wanted to have something to put at each place at the table.
 These little red boxes are made using the Candy Wrapper die from the Holiday Mini.  I just love this little box and keep thinking of things to put into it.
These are made from Real Red cardstock with a strip of designer paper wrapped around them.

I punched the snowflake using the Snowflake punch from white cardstock.  I ran the clear Tinsel Trim (Holiday mini) through a red button, around the snowflake and back through the button and then tied it off.  I love how that looks on the box!  I attached it to the box using a piece of Sticky Strip tape.

Inside I put two Almond Joy fun-size candies because my friends bring me such joy.  

Thanks for visiting my blog today.  Smiles, Laura

Tuesday, December 14, 2010

My Card Bag entry....

Each year, the local stamp club I below to has a contest to see who can decorate the best bag for our annual Christmas party.  These bag are used by club members to deposit Christmas cards to each other   So you decorate your own bag and others put their cards ro you into your bag.  And everyone votes on the best bag and the winner gets a small gift.

This has become quite a fun challenge for me each year--how to decorate my bag.  I won in 2008 with my singing reindeer bag.  I did not remember it until I got to the party, but my 2009 "Merry Christmoose" bag won last year, too.  I was in a quandry about how to decorate my bag thisyear.  I have these paper hand towels in my bathroom and thought it was cute--and you KNOW how I've been on a cardinal bird trip lately.  So this became my inspiration for decorating my bag.  We each get a white lunch sack to decorate.
 Here is my bag decorated with the snowman with a cardinal on his carrot nose.
 I used Baja Breeze cardstock for the background.  I stamped snowflakes from two different stamp sets for the background.  The snowman is cut using 3 QuicKutz circle dies.  I added a black and red border at the top, just to add more color and interest.  And it supports the ribbons I added for the handle, held on using glimmer brads.  The same ribbon is around the snowman's neck.  We have to have our own name on the bags somewhere, hence the tag that has a bird and says, "Laura". 
                          
The hat is cut from black cardsock using the Curly Label Punch.  For the brim, I used the Wide Oval Punch.  And of course the little cardinal is made using directions I've given in previous entries on my blog.  I used a ribbon around his neck.  The arms are from the Snowflake Punch. 

I was surprised and please that my bag won again this year!! How exciting!  The prize I won was nice, but the bragging rights were the best!!  Three years in a row, wow!

Then I thought if the bag was a winner, why not make a card using the same snowman.  Here is the card I made.
 I just left one "snowball" of the body off---otherwise, the card is the same as the bag, only shorter.  I did put the PEACE ON EARTH in the black and red border, rather than under it.   I think it turned out cute, too.    Here is a close-up of the snowman face and bird.
 Thought I'd share a couple of the other bags in the club contest.  This one was made by Judy Thompson.  Love her ornaments!!  Wish you could see them in person--they are so shimmery and beautiful.
                                          
 This bag with the cute Santa was made by Diane Gardner.  She does beautiful work, too, and creative.
 And here is Linda Epperson's bag.  Look closely at all the layers on the tree!  Those are each cut out separately. 
As you can tell, I was in some stiff competition!  You can see why I was so thrilled to win this year!!

Thanks for visiting today.  Smiles,Laura

Sunday, December 12, 2010

Little Reindeer...

Here is another card that Jessica and I made while she was visiting. Yes, this is another CASE.  Jessica saw the card made by Michelle Scileppi.   We added the greeting to ours and made a couple of other changes.  But I love Michelle's idea of using the owl punches for this little fellow.
This little fellow's head and body are both made using the Two-Step Owl punch.  I used the smallest heart punch from the Heart to Heart punch for his hooves  Isn't he a cutie?
Here is a close-up of his face.  I used the Snowflake punch for his antlers.  And of course the bow around his neck is the 1/8 Real Red taffeta ribbon.

Thanks to the original creator of this reindeer for her inspiration!!  And thanks for stopping by today.  Smiles, Laura

Saturday, December 11, 2010

Santa's been working out!

While Jessica was with me the other day, she saw Ellen Kemper's card of Santa with his "buns of steel" and wanted us to make one ourselves.  Before I could photograph Jessica's, she had it in the envelope, stamped, and addressed to her dad!  She thought he'd like it.  But I did photograph mine and wanted to share it with you today.  Here is my card:
 This Santa is so neat!  I used the 1" circle punch for his head and the scallop circle punch for his hair.
We used the 3/4" circle punch for those "buns".  His boots are made from the Modern Label punch, cut in half with  a half circle punch for the toe of the boots. 

This is not a card I'd send to just anyone for Christmas, but I'm watching Dr. Oz as I type this and he is encouraging us all to loose "just 10 pounds".  This would be a GREAT card to send to your workout buddy, or someone who has worked hard to loose "just 10 pounds".  Ha!

Thanks for stopping in today and to Ellen for the inspiration and design.   Smiles, Laura

Wednesday, December 8, 2010

Blessing of the Animals...

Sunday afternoon our church held a Blessing of the Animals at the Manger service.  It was SO COLD, and very windy--probably 25 degrees with the chill factor, but the service was well attended.  We had it at our amphitheater.
I'd say we had about 15-17 dogs, several cats and about 40 humans!  Our pastor was a real trooper, since she had forgotten her gloves and still she blessed every animal. Afterwards we all enjoyed hot cider and the dogs and cats had biscuits and treats.  A fun time was had by all, as they say.

 Since I was the official photographer of the event, there are no shots of me, but my granddaughter Jessica held Gabby and had her blessed.  Here are Jessica and Gabby awaiting their turn to be blessed.
If you have a pet, you KNOW what a true blessing they are to the family and how much joy they bring to the family.  I'm so thankful we have Gabby with us now!

I'll have more stamping to share next time.
Smiles, Laura

Monday, December 6, 2010

Candy Wrapper Package....

At my classes this month, we are making this little Candy Wrapper package, using the new die from Stampin’ Up!  This little package is the perfect size to hold two “fun size” candies—Snickers, Almond Joy, etc. 
To make it, I used Crumb Cake for the package itself.  I wrapped Deck the Halls Designer Series Paper around that.  Then I cut two strips of Cherry Cobbler cardstock with the Scallop Edge Border punch and glued them around the package. 
The little tag is from the Grateful Greetings stamp set, and is stamped in Cherry Cobbler.  I added a snip of the Victorian Crochet Trim with a vintage brad.   I had so much fun making some of these for my friends.  Now to go find more candy to put inside! 

Thanks for stopping in today!! Smiles, Laura

Friday, December 3, 2010

Bread box.....

As I sit here posting to my blog, I am listening to Christmas music and am SO MUCH in the Christmas spirit.  Never mind that I have very little shopping done and I don't have ANY decorations up in the house yet!!  I'm waiting for the grandchildren to come this weekend to help me with the decorating.  They asked me to wait until they could be here, so I am.  I'd love the help!!  My husband's cousin came a few minutes ago and said he wanted to see the Christmas decorations I had up.  His wife was decorating today and tomorrow.  I told him I have Christmas paper towels out in the bathroom and that's it so far.  ha!  He laughted, too.  Never fear, I'll get there!

Today I want to share with you a cute box that my friend Carol Morton sent me last year.  I liked it so much, I decided to do it in my December classes this month.  It is the perfect size to hold one of those mini loaves of bread that are so nice to take as a hostess gift or to lunch with a friend.  Carol's box was green, but I decided to make mine in Ridinghood Red cardstock, with black and Wild Wasabi accent colors.
 It is tied up with our lucious 1-1/4" wide striped grosgrain ribbon.  I used retired Ridinghood Red ribbon on mine.  And my box is made from Ridinghood Red CS.  I decided I wanted to make a little penguin to go on it.  I realize after I completed him that his eyes should be the LARGE white circles from the Two Step Owl punch, but oh, well.......I punched his earmuffs using the Itty Bitty Shapes Punch Pack and I cut his "band" that holds the earmuffs with the 1" circle punch from Baisc Gray CS.
 Look at the "Just for you label on it.  I stamped that sentiment from the Afterthoughts Level 1 Hostess set.  I love that praticular stamp.  I punched it with the Decorative Label Punch.  See how I backed it with the red?  To do this, I punched two red labels using the Decorative Label Punch.  I cut one lengthwise (horizontally) and the other crosswise vertically).  I glued one of the crosswise-cut pieces on each end of the sentiment label and the other two at the top and the bottom of the label.  Great way to "layer" a punched image with its same shape. 

Also, can you tell that the box has black around it?  I used the Scalloped Edge Border punch to make strips to put around the top edge of the box.  I love the effect that gives it.

OK, here is the box itself.  The box is a 10 x 7-1/2" pc. of cardstock.  Score, cut and fold as shown on my picture here.
If you have questions, contact me.  Really, it's easy.

OK, here is another bread box I made for spring.   I used Marina Mist CS for this one.  
 I thought, what if a person doesn't have any of our lucious wide ribbon?  Well, you can add a handle so here I added a cardstock handle to it.  I think it's 1-1/4" x 8-1/2".
The bird and heart are from the Punched Potpourri Level 1 Hostess set.  I raised the bird using dimensionals.

These boxes are handy for all sorts of things--not just mini loaves.  You could put a baggie of cookies, or even a bag of party mix for those who don't like sweets!  The possibilities are endless.  And if you don't want it as long, just decrease the 10" length of the box to 8" and that would take 2" off the length.

I hope I've inspired you today!  Thanks for stopping in.  Smiles, Laura

Guest Artist today!!

I am thrilled to have my friend Vicky Holmes as my guest artist today.  You’ve seen her work on here before and I am honored she allowed me to show her beautiful work again. She showed me a snowman card she’d made and when I asked if I could post it on my blog, she agreed and also sent me another card (below) with two snowmen on it. 

And she tells us how to make both cards. Here are her instructions and dimensions


Base Card CS: Whisper While 5-1/2 X 4- 1/4
Layer Marina Mist 5- 1/4 X 4
Whisper 5- 1/4 X 2 -1/4, single snowman, 2- 1/2 for double one. Then tear

Stamps: SU Cold Play and PK Faces
Embossing Folders: SU Northern Flurry and Cuttlebug Snow
Ink Pads: Marina Mist, Early Espresso, Real Red, Whisper White
CS: Whisper White, Marina Mist, Real Red
Markers: Black, Blush Blossom
Emboss Powder: Iridescent Ice
Glitter: Dazzling Diamonds
Punches: Circles: 1- 1/4, 1- 3/8, 1- 3/4, 1/4 and Heart to Heart punch
Sponge, Big Shot, Heating tool

Sponge edges of circles, W. White snow and base card with Marina Mist ink. Stamp faces before punching.

Tap Whisper White ink Pad on embossing folder (I used the side that has the EF Brand name), put Marina Mist CS, close, and quickly run it through Big Shot, sprinkle iridescent ice, and emboss with heat tool. the first 2 steps have to be fast so ink doesn't dry and Iridescent ice sticks to it.

Used Cold Play stamp set for arms and hat, then cut shapes out, for hat I used Markers on the stamp to get the 2 colors.

Thanks, Vicky, for sharing these with us.  Leave your comments, because I know Vicky will enjoy hearing how you like her work!!   Smiles, Laura

Thursday, December 2, 2010

Winter lamp post.....

 Periodically I write to Stampin' Up! asking for stamps that I really want/need!  I asked last year for wisemen on camels and this year we got Come to Bethlehem, so whether or not I made a difference, I still like to feel that SU is listening to us! 

Well, I've asked them for a lamp post for next year--along with a park bench and some other things.  But while I'm waiting, I decided to make my own lampost.  This is what I came up with.  The top of the lamp is made using the scallop square punch, folded over diagonally and the corners half-circles cut off.    I punched  that little red bird from the Merry Details Sizzlits die. 

I stamped the tall pines in the background from Lovely as a Tree stampset many times in Always Artichoke to get the trees behind the lamp post.  I sponged alittle Baja Breeze on the sky. 

The lamp post itself and cross bar are cut freehand.  I punched the leaves from the Two Step Bird punch from Always Artichoke and Old Olive and hung them over the cross bar.  And the bow, of course is the 1/8" Real Red taffeta ribbon.  I love this narrow ribbon!

I just had to show you the inside, too.  After I stamped the sentiment, I stamped another pine trees at the bottom of the card.  And I stamped the bird from the Scenic Season set in red--as if the bird is now flying away.  I like that touch!
Thanks for visiting my blog today!! I have a special guest artist tomorrow, so please come back!  Smiles, Laura

Saturday, November 27, 2010

More French Foliage

You know that I can't resist using this stamp set.  I just love the leaves in it.  For this sample, I used Marina Mist for the card itself and layered So Saffron under the vanilla top layer.  On half of the top layer, I stamped the one leaf in three colors on the right side (Marina Mist, So Saffron, and Crumb Cake).  I topped that with the stamp that has french wording from this same set.  On the left side, I stamped the little "splatter" stamp from the set in Crumb Cake--with a few of those splatters on the right side, too. 
I added a Marina Mist satin ribbon down the center to show all the pretty blue color.

Here is a close-up of the sentiment tag on the card.  I stamped the sentiment from the Grateful Greetings set--I have used that one so many times!  I put some leaves in the same three colors around the sentiment.  I punched some tabs using the Word Window punch to add some dimension and shine to the card.  You can see I put a gold brad through the two tabs I added. 
This card would be suitable for many occasions.  Who wouldn't like these colors--man or woman!! 

Thanks for stopping by today.  Smiles, Laura

Thursday, November 25, 2010

HAPPY THANKSGIVING!!

Happy Thanksgiiving to you!! 
Aren't we all so blessed to live in the USA and enjoy all the many, many blessings we have!  It was no doing on our part--where we were born.  I am continually thankful that I live where I live.  I wanted to share with you this bountiful altar display I put in our church on Sunday.  The Worship Committee asked me to fix a table to reflect our blessings for Thanksgiving. 
The gold scarf under the display was my mothers and the Bible was one she carried every Sunday and taught her Sunday School class from.  She died in 1981, so it was sort of like she was with me on Sunday.  On the display, I included canned good my husband and I put up and some things from our garden   You know, we have to really think about our greatest blessing--the blessing of ENOUGH.  We sometimes want more and more when we really should be thankful for having ENOUGH of everything and be content with that.

It just so happened the my grandson (age 12) was the acolyte on Sunday, so he got to light the candles on the altar.  My husband turned the candle sticks for me years ago, so it was nice ot have Dillon lighting the candles.
May today be a happy and blessed one for you and your family.  I appreciarte so many of you visiting my blog and following my work and hobbies!
Smiles, Laura