Showing posts with label SU Blessings from Heaven. Show all posts

Sunday, March 25, 2012

I'm back!

I knew I had been away from my blog a long time, but I didn't think it was since March 11!!I'm sorry; all I can say is I've been busy with other things.  Stamping classes for one, but also redecorating a room at our church and now we are starting to work on a second room.  Also my 3 sisters and I had a Sisters Weekend last weekend.  We all went to Isle of Palms, SC, to stay with the sister who lives there and it was so fun!!  So I hope you haven't abandoned me entirely. 

I have a great card to share with you today.  I was waiting until I could demo this in my March classes before posting it here for you.  It's the Cascading Card.  I did show you the two Valentine ones I made on my February 14 entry, but did not give instructions.  Well, today you get the instructions.  This one below was made from Sahara Sand cardstock and I used the Mixed Bunch stamp set and the Blossom Punch and the Blossom Bouquet Triple Layer punch to decorate it.
Here is a view from the top...

And I know it's after St. Patrick's Day but I have to show you the one I made for my son for St. Patrick's Day.  He was a March baby so this particular holiday has always been sort of our holiday.  I think he loved this card!
                                                   
OK, so here is how you make it:  I have put the instructions right on the picture.  I won't repeat them, but you can email me if you have questions.
(Since taking these pictures, I realized you can start with an 8" x 10.5" piece of cardstock and you will not have that 1/2" in the center to toss.  But if that confuses you, stick with these instructions.)


In case these instructions are too hard to see in the pictures, here they are:
Instructions:
• Start with an 8.5” x 10.5” sheet of CS. Mark one 8.5” side at 2.5” and 5.5” and mark the other 8.5” sideat 5.5” and 2.5”. Cut across the length of the card so that you end up with two “wedges”.
• Mark along the bottom of the two pieces at 1.75”, 3.5”, 5.25”, 7”, and 8.75”. Then score at each of these marks from the bottom to the slanted top.
• At the 1.75” score line, measure up to 2.5” (half way) and make a mark--on both pieces. At the 8.75” score line, measure up to 1.5” (half way) and make a mark—on both pieces.
• On one piece of CS, cut DOWN from the top to both these marks you just made on the two score lines. On the other piece of CS, cut UP from the bottom to both these marks you just made on the two score lines.
• Insert the two pieces into each other at the two cut lines, sliding one down and the other up into each other. Do this on both ends—at the 1.75” mark and at the 8.75” mark.
• Slowly fold up the two pieces, making alternating mountain and valley folds.  There is your cascading card! Decorate as desired.

Thanks for stopping in today.  I will see you again soon!!
Smiles, Laura

Tuesday, March 6, 2012

No excuse!

I have no excuse for being gone from my blog so long!  What can I say--I've been stamping!  Well, that's not ALL I've been doing.  We did celebrate Jessica's birthday and I'll be sharing her birthday card with you.  The kids and I also did some wall art that I'll share with you later, too. And last week all week I had a terrible cold and just wished the world away!  But now I'm feeling better.   

 Today I want to share a "telescoping" card with you--at least that's what some call it.  This one is cut using the new Stampin' Up Labels Collection dies. 
 Here is another shot of it all folded out or open.  Isn't this neat!  The back page is cut with one size die, the middle page with one smaller and the front cut with one yet smaller--so three descending sizes of dies are used.  The card is Tempting Turquoise and the front is Daffodil Delight.  I used Big Top Birthday designer paper for the middle.
The stamp set used for the images is the Everybunny set.  I just LOVE the cute bunnies on this one!  RThe sentiment is from the Blessings from Heaven set.  

This is a fun card.  You can make it with descending hearts, squares, triangles, anything.  Give it a try!!
Thanks for hanging in there with me and sticking with my blog!!
Smiles, Laura

Tuesday, October 4, 2011

Christmas Ornament and Cardinal

Today I'm sharing with you two cards I made using the same layout, but with different colors and different stamp sets. 

This first one uses the bird from Forest Festivities.  To get the interesting cut she's inside of, I cut the Cherry Cobbler square to 3-1/4" and then put it all the way into the Decorative Label punch to punch it.  Then I turned it 90 degrees and lined it up in the middle and punched again.  That's it---so simple!!  I did then trim it to 3" square so that it had room to layer on the green and blue squares and still fit the card.

This card is Cherry Cobbler and I ran it through the new Snow Burst embossing folder.  Love that one!!

It's hard to tell it here, but I used Dazzling Details on the little birds cap brim and ball and also on the ornament.  On subsequent cards like this, I actually colored the ornament blue before applying the Dazzling Detail.

Here is a close up of the sentiment.  I used Marry Christmas from the Forest Festivities set, also, and layered it with Marina Mist, Cherry and Wild Wasabi.  I used the checked Frostwood Lodge designer paper on this one.
Here is another card I made using the same layout.  This one uses Riding Hood Red, Certainly Celery and Always Artichoke as the cardstock colors.  The stamp sets used on this one are Autumn Splendor and Blessings from Heaven.
Thanks for visiting today!!  Smiles, Laura

Tuesday, September 20, 2011

Simply Soft....

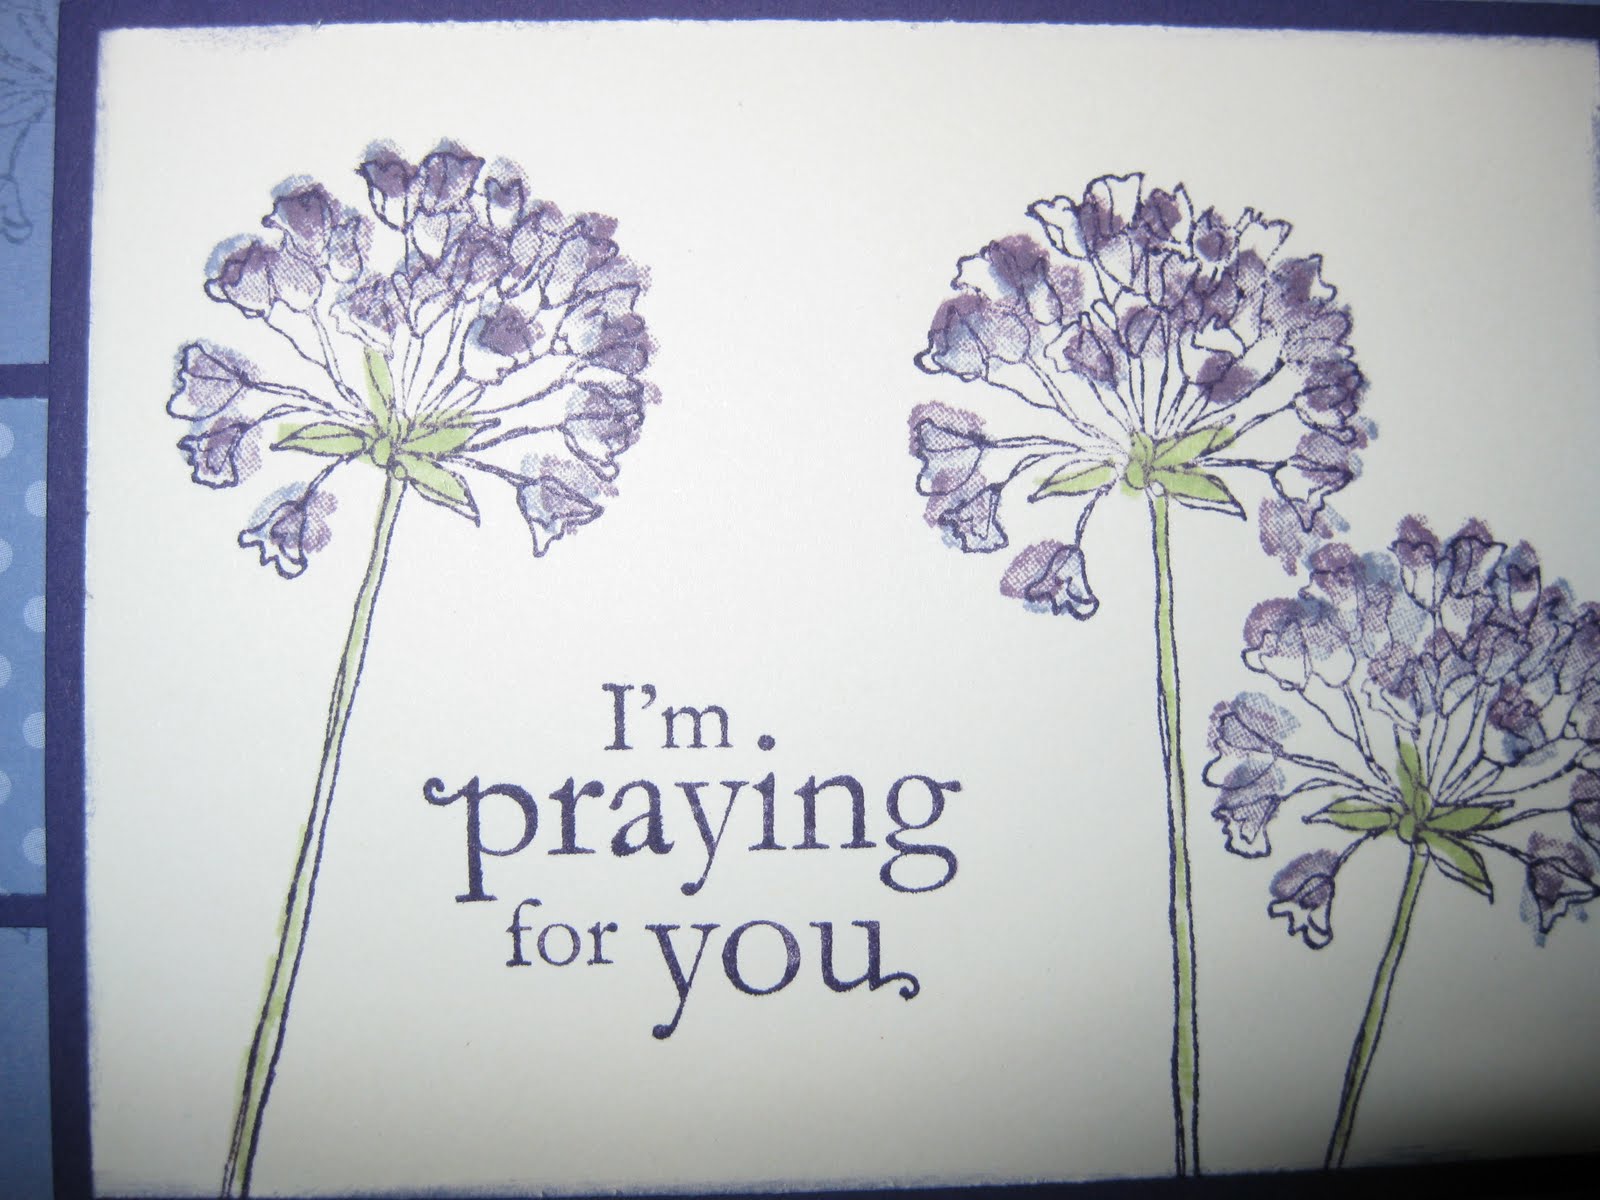
I love this Simply Soft Hostess set!  The card I am sharing today is made from Elegant Eggplant cardstock, layered with Wisteria Wonder on top.  I'm not sure if you can tell it, but I stamped the flower all over the Wisteria Wonder cardstock.  I layered a Wisteria Wonder designer sheet piece from the Patterns stack onto Elegant Eggplant and put that over the solid Wisteria Wonder.  I used the 1/2" Scallop Dots Ribbon in Elegant Eggplant around the card.
Here is a close-up of the flowers.  I stamped them frist in Eggplant.  I stamped the solid image over them in Wisteria Wonder first and then with Perfect Plum.  I love these folowers.  I can see using them in lots of different colors.  I colored the stems with the Certainly Celery marker.
The sentiment is from the Blessing From Heaven set.  That set has a BUNCH of great stamps in it.

This is a simple card and quick to make.  But it would be useful for any occasion.  I like cards that can be used for many occasions.

I know my postings have been sporatic.  I wish I could post more regularly, but we are still busy with gardening things, trips to the doctors, etc. I'll do better in a bit.  Thanks for sticking witih me!!
Smiles, Laura

Friday, September 2, 2011

You are a Blessing.....

Here is a card I made recently when my friend Judy was over playing.  No, that isn't Stampin' Up! designer paper, but the card stock is.  I used Riding Hood Red, Always Artichoke and Certainly Celery cardstock on this card.
This leaf is from the Autumn Splendor set---and isn't it about time to start thinking about autumn!  While we are still having hot days, you can tell that fall is around the corner.  I mean, how long can this summer last???

For the cut-out for the leaf, I punched a 3.25" square with the decorative punch.  I turned it 90 degrees and punched it again, being careful to line up the punch each time.  It make a neat cut-out, doesn't it?  The leaf is stamped on white card and colored.  I also sponged some color around the edges.
In the background of this shot, you can seen that I ran the card side-ways through the Stripes embossing folder.  This is a neat one that can be used either way.

Here is the sentiment.  It is from the new Blessings from Heaven stamp set.  There are lots of great sentiments in this set.  Check it  out.
I hope you liked this sample.  Come back my way soon.
Smiles, Laura