Tuesday, October 4, 2011

Christmas Ornament and Cardinal

Today I'm sharing with you two cards I made using the same layout, but with different colors and different stamp sets. 

This first one uses the bird from Forest Festivities.  To get the interesting cut she's inside of, I cut the Cherry Cobbler square to 3-1/4" and then put it all the way into the Decorative Label punch to punch it.  Then I turned it 90 degrees and lined it up in the middle and punched again.  That's it---so simple!!  I did then trim it to 3" square so that it had room to layer on the green and blue squares and still fit the card.

This card is Cherry Cobbler and I ran it through the new Snow Burst embossing folder.  Love that one!!

It's hard to tell it here, but I used Dazzling Details on the little birds cap brim and ball and also on the ornament.  On subsequent cards like this, I actually colored the ornament blue before applying the Dazzling Detail.

Here is a close up of the sentiment.  I used Marry Christmas from the Forest Festivities set, also, and layered it with Marina Mist, Cherry and Wild Wasabi.  I used the checked Frostwood Lodge designer paper on this one.
Here is another card I made using the same layout.  This one uses Riding Hood Red, Certainly Celery and Always Artichoke as the cardstock colors.  The stamp sets used on this one are Autumn Splendor and Blessings from Heaven.
Thanks for visiting today!!  Smiles, Laura

Saturday, October 1, 2011

Lots of "Grateful"....

Last entry I told you about the carnival we had at church.  Many people helped with it so I wanted to thank them all.  Here are some thank you cards I made to send to them. 
The card itself is Soft Suede layered with Crumb Cake.  I used retired designer paper for the front.   The basket of pears and the sentiment are from the Always Thankful stamp set in the new Holiday Mini.  I love this set.  I punched the pear basket out using the 1-3/4" circle punch.  To have a larger circle to layer it on, I used the Round Tab punch and punched one from Pool Party and one from Basic Grey and layered them to make a circle.  Neat idea, huh:?
Here is a close-up for that.  I colored these with markers and also ink and my aqua painter.
For the sentiment, I punched with the Decorative Label from Pool Party, then a 1-3/8" circle from Soft Suede and then used a die from the Lots of Tags die set and cut one from Basic Black.  I punched out GRATEFUL using the large oval punch.
I hope the folks who helped with the carnival liked their "thank you" cards. 

Here is the same card, made using designer paper from the Spice Cake series in the Holiday Mini. 
 As with the other one, I punched a 1-3/4" circle, layered a 1/2" circle on top and added a brad to put on the striped part down the side, just to add more interest.
I love this layout and have used it before and will probably again.  Hope you like it, too.
Smiles, Laura

Friday, September 30, 2011

FROGS.....

In August we had a Back-to-School Carnival and Marionette Show at our church.  We decorated for a carnival0like atmosphere and had games and afterwards had a marionette show about a prince who was turned into a frog.  We decided our carnival's theme would be Fully Rely On God (FROG) and would give frog finger puppets and other frogs to the children as a reminder of this theme and admonition.We asked church members to sign up to bring food, to host games, to decorate, etc.  I wanted something that would catch members' eyes for sign-up so I made these frog to add to the sign-up charts. 
Here is a close-up of one little fellow.  I used various punches (and I think you can tell which ones) to punch his parts.  Three of those shown have their legs in place, so they aren't mobile.

For this fellow below, I added brads as the joints for his arms and legs, so that I could pose him in many ways.  Look at him all streched out and you can see one in the picture above waving.  If you need to make frogs for any event, you can use this one as an idea.
We had a great carnival.  I think all the kids enjoyed taking their frogs home with them!

Smiles, Laura

Wednesday, September 28, 2011

Out on a Limb....

I want to share a Halloween card with you today.  I don't send alot of Halloween cards, but each year try to make a few to send to my grandchildren, sisters, etc.  This one uses the Out On a Limb stamp set.
I was inspired by this card my friend Rose Kerry sent me.  She does such beautiful work!!  I loved the layout on her card and decided I'd use it for my card.
OK, so back to my card.  (You can ooohhh and aaaahhh over Rose's at your leisure then back to mine.  Hee hee.)

My card takes its colors from the Frightful Sight Designer paper pack.  I used Old Olive for the card, then layered on Basic Black. I cut squares and rectangles of designer paper patterns to layer on top of the black.


The silver stripe is the new Silver Glimmer Paper in the Holiday Mini.  I LOVE how bright it is.  It's so fun to use.
For the focal point, I cut from Cajun Craze and Basic Black using the Perfect Pennants die.  I stamped the cat, limb and moon from the Out On A Limb set onto white cardstock that I had cut using the Circles #2 die.
The sentiment is from the Delightful Dozen stamp set, stamped in black.  I stamped the limb the kitty is on with Basic Gray in.  So how did I get the cat on the limb so perfectly?  Well, I used the Stamp-a-ma-jig stamp positioner.  This tool is a MUST.  I even used it to stamp the moon in the correct place. 

This card will be going to my sisters for Halloween!  Sorry, girls, no surprise now!

Hope you will all visit my blog again soon!! Smiles, Laura

Monday, September 26, 2011

Stockings, stockings.....

I know you've seen the new Stocking Builder Punch!  Well, I have found it's so much fun to play with.  No, I didn't get the coordinating stamp set, but have had fun using designer paper and card stock to make my own stockings.  Here is a card we made this month in class.  We punched two stockings from designer paper and one from Cherry Cobbler cardstock.  I used the Cobbler marker and my Uni-Ball white gel pen to "stitch" the stocking tops, toes and heels.  I used the mat pack to punch holes around the white cardstock so I could "stitch" with the cobbler marker.
Here is a close up of the top of the card.  I put linen thread at the corner of each stocking and "hung" them using silver brads.  And Merry Christmas is from the Teeny Tiny Wishes stamp set. 
This card would be fun to write kids or family member names on the tops of each stocking (or even pets).  Oh, my, I've already bought some Christmas gifts and am beginning to get in the Christmas spirit!!

Come back again, OK? 
Smiles, Laura

Tuesday, September 20, 2011

Simply Soft....

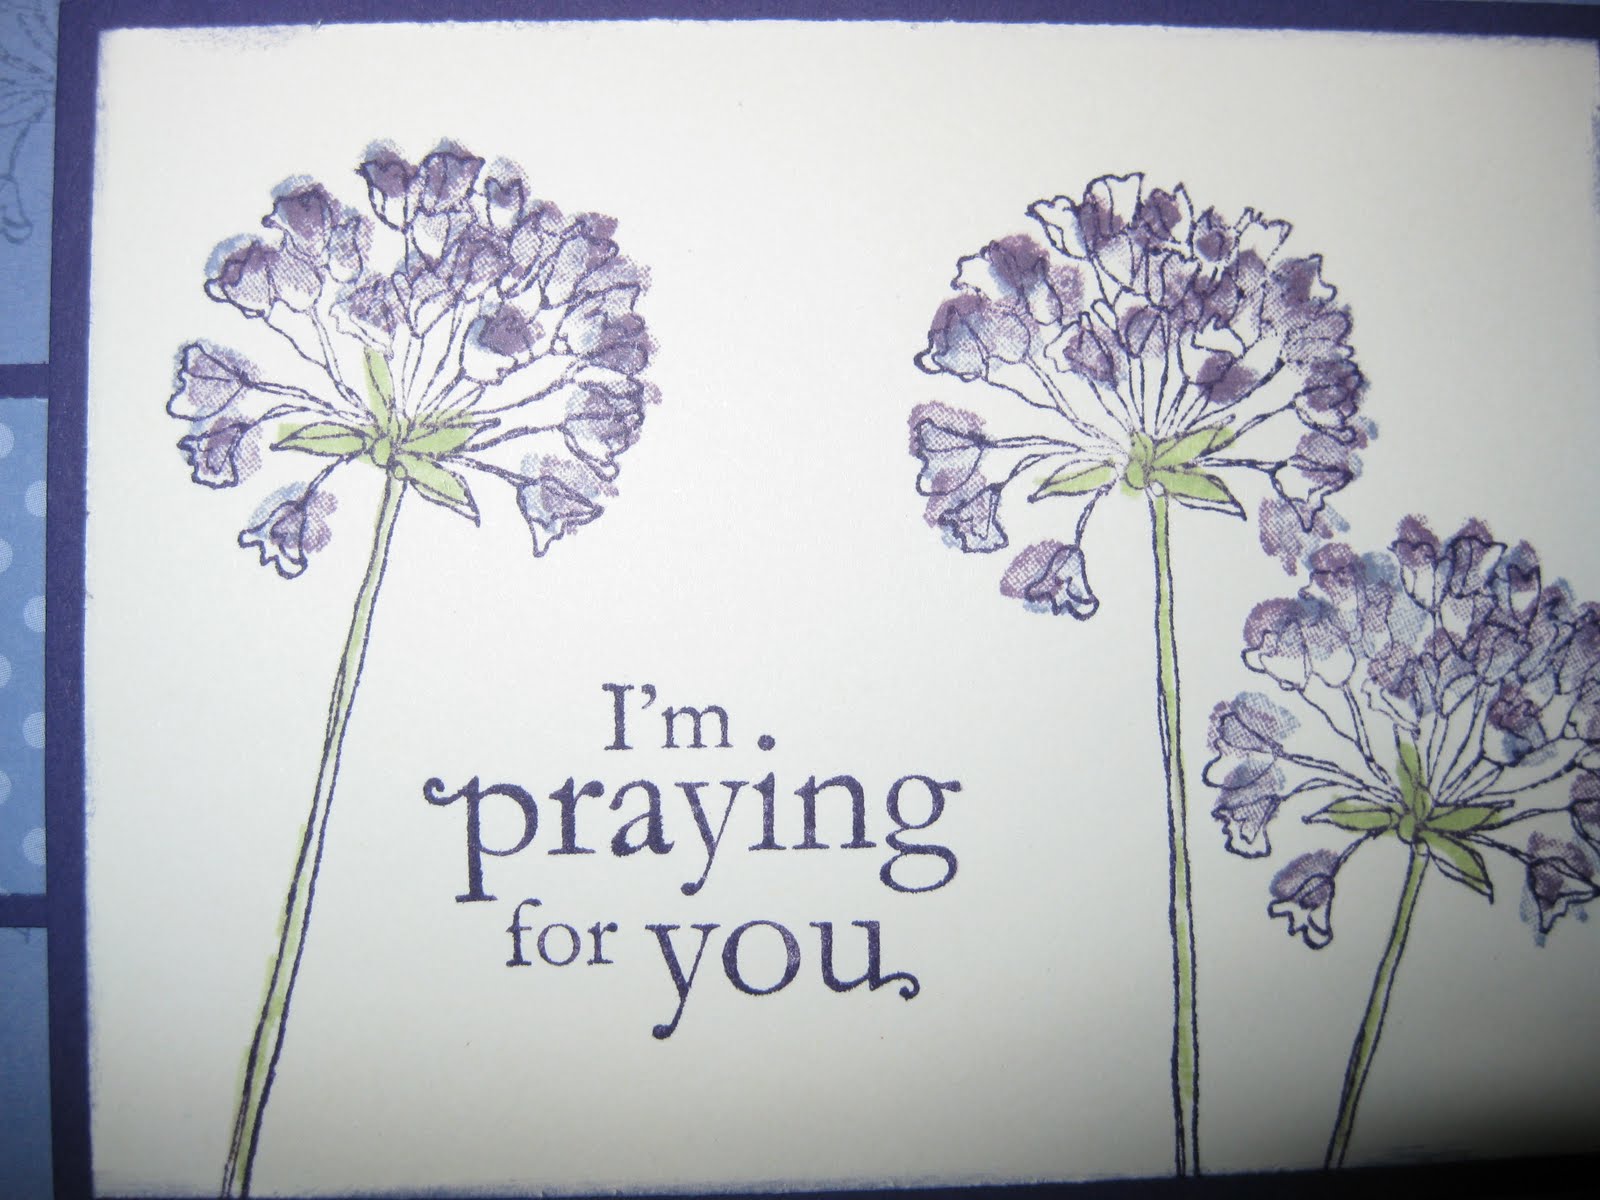
I love this Simply Soft Hostess set!  The card I am sharing today is made from Elegant Eggplant cardstock, layered with Wisteria Wonder on top.  I'm not sure if you can tell it, but I stamped the flower all over the Wisteria Wonder cardstock.  I layered a Wisteria Wonder designer sheet piece from the Patterns stack onto Elegant Eggplant and put that over the solid Wisteria Wonder.  I used the 1/2" Scallop Dots Ribbon in Elegant Eggplant around the card.
Here is a close-up of the flowers.  I stamped them frist in Eggplant.  I stamped the solid image over them in Wisteria Wonder first and then with Perfect Plum.  I love these folowers.  I can see using them in lots of different colors.  I colored the stems with the Certainly Celery marker.
The sentiment is from the Blessing From Heaven set.  That set has a BUNCH of great stamps in it.

This is a simple card and quick to make.  But it would be useful for any occasion.  I like cards that can be used for many occasions.

I know my postings have been sporatic.  I wish I could post more regularly, but we are still busy with gardening things, trips to the doctors, etc. I'll do better in a bit.  Thanks for sticking witih me!!
Smiles, Laura

Wednesday, September 14, 2011

Milk can of rye....

Here is a card I made recently using the Always Thankful set.  This is a great set to play with.  This card is More Mustard, layered with Always Artichoke.  I have a layer of non-Stampin' Up! designer paper over that.  I stamped the can of rye on Vanilla cardstock ad layered that on Cajun Craze.  For that little accent, I punched an Artichoke circle with the 1-3/8" circle punch and another from Mustard with the 1-1/4" circle punch.  I added 3 gold brads for interest.
Here is the sentiment.  I stamped the sentiment from the Teeny Tiny Wisher stamp set using black ink.  I punched that our with the Scalloped Oval punch.  I punched an oval using the large oval punch and cut it in half to go behind the sentiment.  I  layered it onto a wide oval from Artichoke and put that onto a mustard Curly Label that I cut in half to show on each side.  I love multiple layer sentiments on cards!
You can see the Mustard Scallop Dots grosgrain ribbon I tied around it with the dots facing the back.

I have shown you this layout before, but I find it's one I can use over and over. 
Thanks for visiting today!!  Smiles, Laura