Showing posts with label SU Punches. Show all posts

Wednesday, August 10, 2011

Let's party!

No, hubby isn't being released from the hospital yet!  I wish we could be partying about that.  But this card is great for a birthday party, complete with party hats.  And best of all, it shows another way to use the Petite Pennant Builder punch and Pennant Builder stamp set--for the party hat.  I stamped the pompoms from the set and punched them with the flower-like punch in the  Itty Bitty Shapes Punch Pack.  The card itself is Real Red and I embossed a piece of white with the Square Lattice embossing folder.  The striped paper is from the Just Add Cake collection. 
 Here is a close-up of the hats.  I stamped "wish big" from the same set and then punched it with the Jewelry Tag punch.  It's not hung on like a tag, but just stuck under the party hat.
The sentiment on this card is from the Petite Pairs stamp set.  That's one you will see me using alot because it has alot of great sentiments in it.
I appreciate your continued prayers for my husband as he heals.  Keep coming by to visit, OK!!
Smiles, Laura

Saturday, July 16, 2011

Wish Big....

I LOVE finding several uses for each punch I own--it makes the investment in these punches more worthwhile.  Well, on the card I'm sharing today, I used two petals from the Blossom Petals Builder punch to make the flame and center of the flame.  I saw this candle on the Artistic Avenger's (Carrie Gaskin)  blog but she did not have the inside "hottest" part of the flame.  I thought of that myself and think it adds alot to the candle.  I used So Saffron and Pumpkin Pie for the flame colors, and sponged around both with the Pumpkin ink to add depth.  I used the white gel pen for the white "light reflection" on each candle.

This card itself is 4.25" x 4.25" when folded up, so the candles can stick up above the card and it still fits nicely into our medium envelopes for mailing.  This card is made from Pear Pizzazz cardstock, layered with Tempting Turquoise and topped off with In Colors Patterns DSP.

The beauty of this card is that you can pick ANY scraps you have to make the candles--candles can be ANY color.  It's a great way to use up those bits of DSP!!  I sponged the edges of the candles to make them look more "rounded" and I used the Small Oval punch to punch out the tops of each candle.
                                
 Here is the same layout, with a Soft Suede card layered with Bashful Blue color theme, and topped again with the Patterns DSP.  The candles are different colors on this one, but you get the idea--you can use anything.
The sentiment on this card, Wish Big, is from the Word Play set.  I colored the various letters using markers so they would be different colors.  And I sponged around the edge of this square, too.

Don't you think this is a neat birthday card to send!!   I made several for my June birthdays!  I hope the folks getting them liked them.

Thanks for visiting today!!  See you another day!!

Ed. Note:  I finally found the original card by Carrie that inspired me and actually I'd say I CASE'd her card!  My candles are a bit different but the layout and using 3 candles was her idea.  Thanks, Carrie!!  Check hers out at http://www.artisticavenger.com/ .
Smiles, Laura

Thursday, July 14, 2011

Hello to you!!

 I know, I know, you can't believe I'm back.  Well, I thought I would not get back to you and my beloved stamping but I hope I'm about there!!  I have MOST of the work done on the house--they just need to tile my backsplash and one bathroom floor next week.  I am definitely tired of cleaning out!! I told friends today that I still don't have "empty spaces" in my drawers and cabinets.  But where they once were "crammed to spilling out" they are now "comfortably full"---which is better than it might be. 

I have missed posting for you all.  When I saw my friend Judy Friday night, I said , "I haven't posted to my blog in forever."  Judy replied, "You haven't since June 27."  I was amazed that she knew the exact date of my last entry.  I love being missed!!! 

In spite of working on the house, I DID take time to place an order for tons of new stuff.  Hey, I might be busy, but my priorities are in order!  ha!  I have tons of new stamp sets to create with, some new designer paper and new ruffled ribbon.  I can't wait to get started in my stamp room!!!

Here is a card I made during June as part of a swap I was committed to.  I used the new set Pennant Parade and the new Petite Pennants Builder punch.  The colors are Wild Wasabi, Pumpkin Pie, and So Saffron.  I used the Just Add Cake Designer Series Paper for this one, too. 
 Here are the pennant pieces.  I stamped them in Wasabi on Saffron and then punched them out.  I've found with this new punch that you stamp to the RIGHT side of a piece of paper and then punch--this will save you some cardstock.  Then I punched out a "plain" pennant (without scallops) from striped designer paper to layer on the Saffron.  I used the Naturally Serif die and Pumpkin cardstock  for the letters "Y O U".  Here you can see the close-up of the white background, too, where it is embossed with the Square Lattice die.  Love that die!!

I wanted you also to see how I punched a small hole in the corner of each pennant and ran white bakers twine through it to tie all three pennants together.
 For this part (below), I punched 5 circles from various patterns of the designer paper with the 1" circle punch.  The circles are glued to a strip of designer paper.  This picture also shows the sentiment.  The Saffron back is punched with the Scalloped Oval punch.  I layered Pumpkin punched with the Modern Label over that and stamped Happy Birthday and punched it with the Word Window punch. 

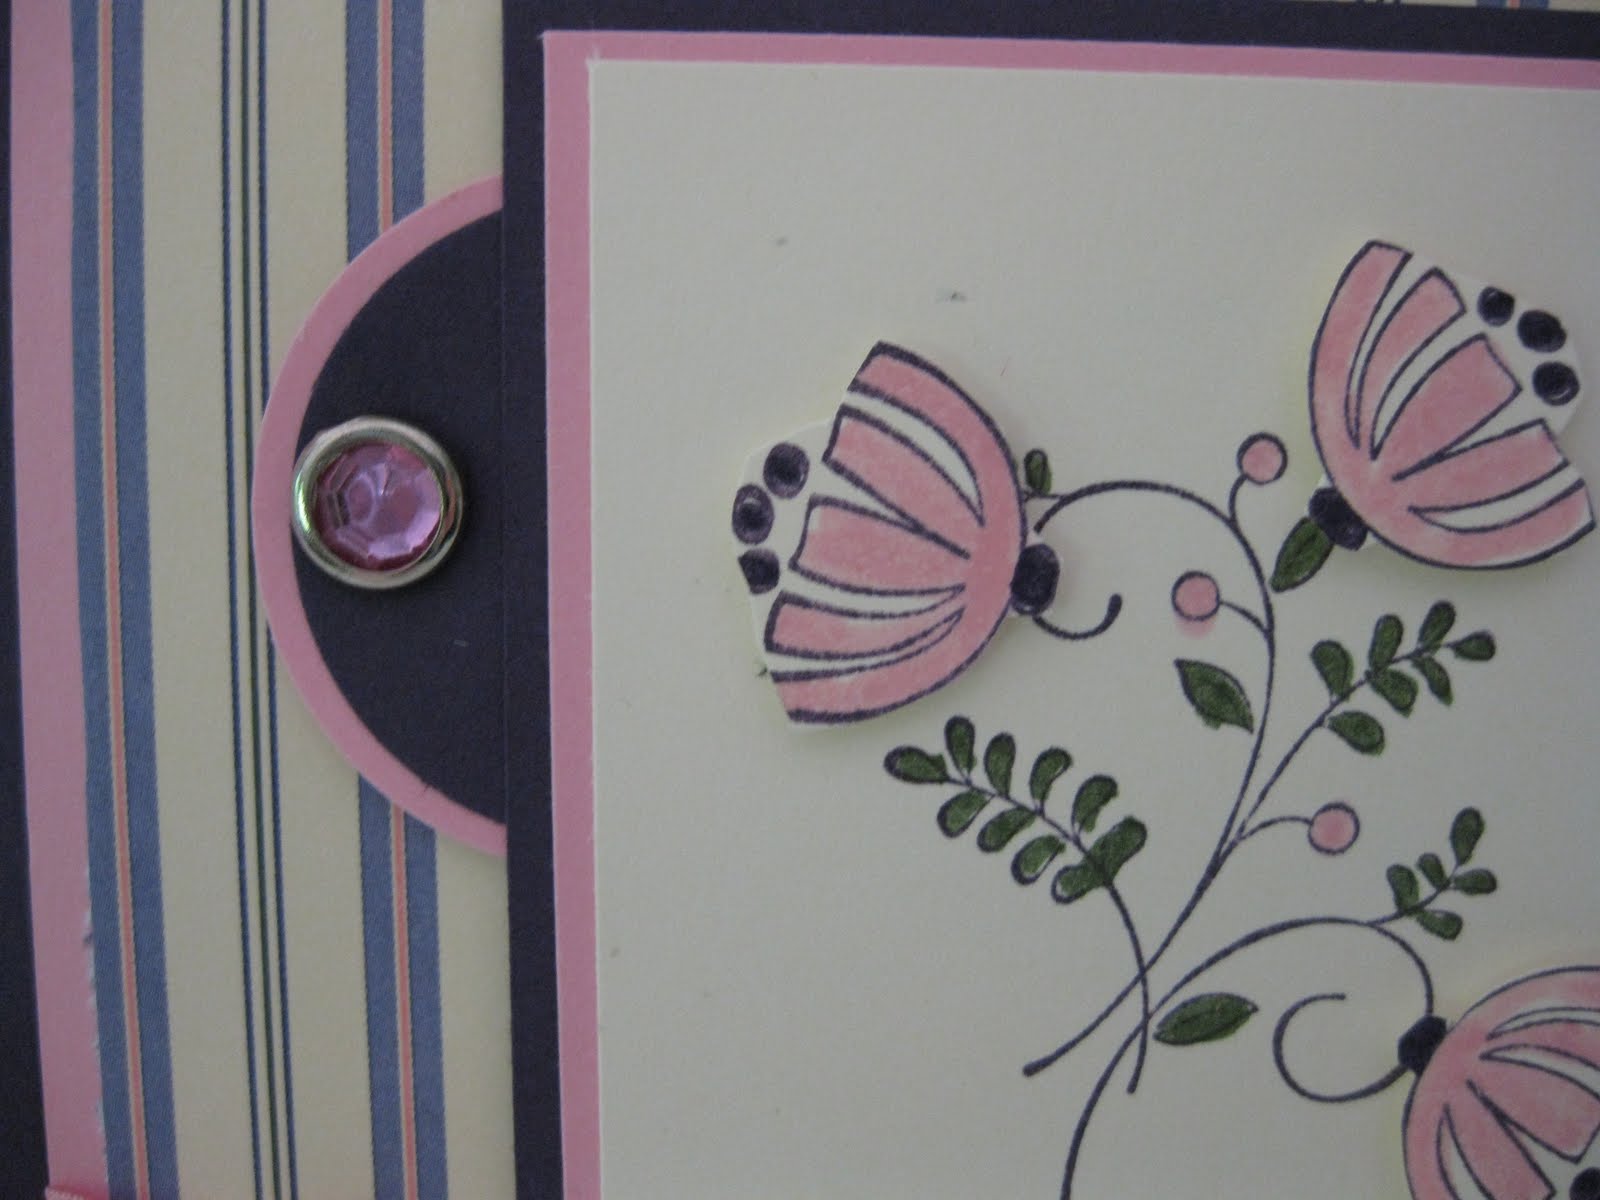
Well, I hope you like the sample today.  I'm glad to be back.  Leave me some comments, so I know you are glad, too!!

Friday, May 20, 2011

Two Triple Layer Punch Flower Shares....

Today I have two different, but similar, cards made using the Blossoms Bouquet Triple Layer Punch and the Lattice die!  I made this first one using Peach Parfait cardstock for the card, layered with Pear Pizzazz.  The lattice die is also punched from the Peach Parfait cardstock.  The flowers on this one are Poppy Parade, with a little center of Pear Pizzazz on top. 

 I hope you can tell in this close-up shot that I ran the Pear centers through the Lattice Embossing Folder, too, for added dimension.  And they are put on with dimensionals.  The little sentiments are from the Tiny Tags stamp set, punched out with the Jewelry Tag punch.  They are attached with linen thread run through the lattice.
 I decided to step the card up a bit by adding a layer BEHIND the punched flowers.  Here is that card.  This card is Poppy Parade, Pear Pizzazz, and Daffodil Delight, but the lattice itself is Soft Suede. 
 For these flowers, I punched with from Daffodil and then punched a 3/4" circle to go behind the flowers.  I think this makes them pop out so much more.  What do you think?
Isn't it fun to make a card and then try to improve on it!  I do that alot--seeing if I can come up with just one more thing to move the card from a "good" card to a "great" card! 

Have a wonderful day!! Come back often!! Smiles, Laura

Wednesday, May 18, 2011

Happy Birthday to my blog!!

It is hard to believe that I've had this blog for two years today!!  I wasn't sure anyone would be interested in seeing my samples and my photography.  I had no idea so many of you would visit as often as you do and I most humbly appreciate your visits.  Thank you for your sweet and supportive comments you leave. 

So since this is my blog's birthday, I'm going to share one more sample using this layout and this one is a BIRTHDAY card.  Happy Birthday to my blog!

For this card I used Rose Red and Certainly Celery cardstock for the card.  The designer paper is by another compnay, but I do love it.  The cupcake is punched using the Build A Cupcake punch.  I ran the bottom of the cupcake through my crimper to make it look like a paper that holds cupcakes.
 Here is the sentiment on the card.  The sentiment is from the On Your Birthday set.  I punched the white cardstock using the Decorative Label punch.  That is backed with a Rose Red large oval.
 Here is the inside of the card.  The sentiment is again from the On Your Birthday stamp set.  I put some of the designer paper inside, too, to go with the front.
Thank you SO MUCH for being a part of my blog!!  I hope to be sharing with you for years to come!! 

(EDITORIAL NOTE:  I was asked in the comment for the directions for cutting the triangles.  I have this explained in my May 15 entry, the one with the scooter.  The square for the triangle starts off as a 4x4" square.  Cut that in half, diagonally, and then cut each of those two in half, from the center to one point.  This gives you 4 triangles, enough to make two cards.  Hope this helps!)

Smiles, Laura

Tuesday, May 17, 2011

Sailing Away on the same layout....

I shared this layout with you the other day--even in the same colors and paper, but formatted in landscape with the On the Grow scooter on it.  This is what I made with the left-over triangles of the checked paper.  (See my earlier entry for colors and papers used.)  I decided I wanted to try the layout in a portrait format and put the sail boat from Sail Away on it.  Here is what I came up with:
 I love this boat.  It is punched with our 3" Circle Die carried over from the Occasions mini.  I layered it with another circle I cut with a die.
 The sentiment on this one is from Teeny Tiny Wishes.  (Don't I use that set OFTEN!!  Love it!!)  But the shape of this one is a new one for me.  I punched out white cardstock using the Decorative Label punch.  Then I  put it back in to the long side of the punch and punched it again, so that I got a "skinny" Decorative Label punch.  I love how it layers onto the Large Oval!
This is just one more way to use our neat punches.  The hardest thing about this one is getting it straight, so that you have even, same-sized curves on both sides.


OK, I'm loving this one!!  I hope you do, too.  How about trying a sample yourself using this layout and show me what you've made!!  I'll feature you as my guest artist, if you send me what you've made!

Have a wonderful day!!
Smiles, Laura

Sunday, May 15, 2011

Happy "I DO" Day....

My cousin's son is getting married this month and here is a card I designed for them--and for my May classes.  It has alot of details on it but is a really pretty one when you get finished.  The card itself is Basic Gray.  I ran a layer of White through the Framed Tulips embossing folder for the front of the card.
The "bride" and "groom" hearts are layered on gray hearts cut using the Scalloped Heart of Hearts Embosslit die.  I punched the "bride" white heart using the Full Heart punch and then ran it through the Elegant Lines embossing folder.  I positioned it so that two small  circles would be in the center so that I could add Pearl Jewels in the circles. 

For the groom, I punched both a white and black heart and then cut the center out of the black one, so that it looks like two sides of a jacket.  I used the Two-Step Owl punch to punch the two little black hearts for the "bow tie".  Then I added three black brads for the shirt's buttons.

The striped paper is Basic Gray from the Patterns Designer Series Stack in Neutrals.  I layered that on Basic Gray for a border.  I tied a black 1/8" ribbon around that for interest and dimension.


I used this sentiment--Happy I DO Day-- from the Word Play set and stamped it in Basic Gray on white.  I punched this with the Curly Label punch and layered that on another Curly Label in Basic Gray.  I cut the gray one in half, to back the white one.
 
I wanted that little ring to really pop out, so I used a Rhinestone Jewel for the stone on the ring. 

My cousin loves homemade cards, so I think they are going to like this one!!

Thanks for stopping by today.  Come back soon! Smiles, Laura

Saturday, May 14, 2011

On the Grow Scooter...

I saw this layout used by several stampers and while I could not find the sketch itself online, I could figure it out and wanted to make my own card.  I decided to use the On the Grow scooter stamp for my card.

My card is Poppy Parade, layered with  Tempting Turquoise cardstock.  The inside layer is designer paper from the Build-a-Bear Workshop Pawsitively Prints II series, also layered on Poppy Parade. 

For the two outside triangles with checked paper, I cut the checked paper (also from the same series) into 4"x 4" squares.  I cut those in half and then each of those halves in half.  So you get 2 cards from one 4"x4" square of designer series paper.  You'll see the card I made with my other two pieces in a later entry.  I layered those triangles onto Poppy Parade also. 
 Here is a close-up of my sentiment.  The sentiment is from the Teeny Tiny Wishes stampset.  I punched a circle from Poppy Parade, a Designer Label tag from Turquoise, and used the Decorative Label punch (one end) to punch the white cardstock.
 Here is a close-up of the scooter!
This is a fun set to use--although some coloring is required.

So I hope this layout has inspired you.  I will certainly be using it again myself!

Thanks for visiting my blog today!!
Smiles, Laura

Tuesday, May 10, 2011

Flowers and Happy Greetings...

I am still having fun using the Blossom Bouquet Triple Layer punch to make flowers.  This card is full of them!!  I tried to make several different flowers using Pumpkin Pie, Cherry Cobbler and Daffodil Delight colors.
                          
 Here are some close-ups of the flowers.  I punched all three "choices" on the punch in all three colors, so I could build the flowers any way I wanted.  Talk about fun!!  I had a pile of pieces punched and just played with them to find good combinations.  I figure there are dozens of combinations you can make with the layers.
 Here are two more of the flowers. 
 The sentiment is a bunch of layers, too. I used the Decorative Label punch in Daffodil and Cherry for the back of it.  I them punched a layer in Pumpkin Pie using the Curly Label.  The top layer is the Wide Oval in White.  I used the new set, Happy Greetings, from the Summer Mimi for the sentiment.  Love that one!!  I sponged the edges with Cherry Cobbler, too. 

Yes, I think this is a happy card and a fun one to put together. 

If you don't have the Triple Layer punch and love flowers, you need to order it!! It's just fun to see what you can make using it!!

Thanks for visiting my blog again today!!
Smiles, Laura

Sunday, May 8, 2011

Another Friday Mashup Sketch--Sail Away....


Here is the sketch I shared with you in my last entry and the first sample I made for Mothers Day using it.  Well, today I'm going to share a card I made for Fathers Day using the same layout/sketch and the Sail Away stamp.  This stamp is from the new Summer Mimi and I just LOVE it.  You'll be seeing more of it on my blog, for sure.
 I used Not Quite navy and Sahara Sand for the card and matting.  I LOVE Sahara Sand as a "neutral" color.  The striped designer series paper is from the Patterns DSP Stack in the Brights. 
 I stamped the image (boat) in Night of Navy ink.  I also stamped the sails on paper from the Blueberry Crisp series and cut it out.  I used dimensionals to add it to the original stamped boat.  I colored that little mast flag with the Real Red marker.  I used Metallic brads on the circles.  I gave you the size of those circles in my last entry.
 Here is the sentiment--again from the Teeny Tiny Wishes set, punched with the Word Window and layered on the Modern Label.
For this card, I used the 1/8" Real Red ribbon behind the image for added interest. 

OK, now it's your turn!!  Go create something using this sketch.  I've gotten you started!!
Smiles, Laura

Friday, May 6, 2011

Friday Mashup Sketch--Sweet Summer....

 I saw this beautiful card by Anne Marie Hite on her blog and knew I had to try this sketch.  (You can visit Anne Marie's blog here.)  She had used a Friday Mashup Sketch which called for certain colors to be used.  I didn't care about the colors, but I loved the layout.  So I have designed two cards using this sketch (right).  

My first one is a Mothers Day card.  I sent this to my grandchildren's mom and to my sister-in-law for their Mothers Day card.  I hope they like it. (I'll share the other card I made in my next entry.)

Here is my card (below).

I used Elegant Eggplant for my card and matter the striped paper from the Lap of Luxury DSP series on Pretty in Pink cardstock.  Yes, you are right--that's t Sweet Summer  stamp set that was available during Sale-a-bration.  I know, I know, I miss it too! 

The stems, leaves and floers are stamped in eggplant on Very Vanilla cardstock.  The leaves are colored with the Always Artichoke marker. 

I used the Pretty in Pink 3/8" taffeta ribbon on this card---behind the image and sentiment, rather than in front of it as the sketch shows. 
Here is a close-up of the sentiment.  The Happy Mother's Day is from the Teeny Tiny Wishes.  I stamped it on Very Vanilla cardstock and punched it out using the Word Window punch, and layered that on Pretty in Pink, punched with the Moderl Label pupnch.  I raised it up with dimensionals, but it's hard to tell.  I have the pink label on more Lap of Luxury DSP (the purple piece).  Below the label is an eggplant border punched with the Scallop Trim Border punch.  I love how that looks on it. 
                                  
 Here is a close-up of the circle behind the image piece.  I punched a pink 1-3/8" circle and layered an eggplant 1-1/4" circle on that.  I added a Circle Fire Rhinestone Brad in pink to the circle. 
Those flowers on the image are stamped with eggplant and colored with the eggplant and pink markers.  They are also popped up using dimensionals.  I use a TON of those because I love raised things on mhy cards.

Thanks for stopping by my blog today.  See you again, I hope!!  Smiles, Laura

Wednesday, May 4, 2011

Triple Layer Punch

We are going to have so much fun with the new Triple Layer Punch that is available in the Summer mini!!  Look at these neat flowers!!

This card is made from Pear Pizzazz cardstock layered with white.  I stamps the stem from the Bold Blossom stamp set using Pear Pizzazz ink.  I punched flowers from So Saffron, Peach Parfait and Poppy Parade using the Triple Layer Punch. 
 Here is another shot of the sentiment label.  I sued the Curly Label and Decorative Label punches for this.  The sentiment was stamped using the Perfect Punches stamp set.
 Those flowers are so cherry!! 
I tied Poppy Parade ribbon around the card.  I'll share more samples using this punch in the coming days!
Smiles, Laura

Tuesday, May 3, 2011

Dancing Dress....

Tammy Howell first designed this dancing dress (or tutu,if you will) and I thought it would be a fun card to make for Jessica.  I decided to use purples for my card.  I sponged Elegant Eggplant on vellum paper for the skirt and then punched it out with the largest flower in the Blossom Petals punch.   I used a smaller petal on that punch to make some Pink Pirouette cardstock petals for the top layers of the skirt. 

I punched the top of the dress from Eggplant cadstock using the Round Tab punch.  I punched the curved neckline using the 1" circle punch.  Then I put pearl Jewels around that curve.  I added a 3/8" ribbon around the waist.
 Here is a closeup of the sentiment.  It was punched from Eggplant, Pirouette and white cardstock using the Wide Oval, 1-3/8" Circle and Scallop Oval punches.  The sentiment is from the Bring On The Cake stamp set.
 I think this is a neat idea for a dress.  I know Jessica will love this one!!
Thanks for visiting today!! Smiles, Laura

Monday, May 2, 2011

Designer Label Birdhouse

Here is another card we made at our April classes.  I have my friend Regina Andari to thank for the use of the Designer Label punch for making this birdhouse, punched from Peach Parfait cardstock.  I used Soft Suede for the actual card and layered it with Sunny Garden striped designer paper.  I cut a lattice using the Lattice Die and my Big Shot machine.  I smudged just a bit of Soft Suede on it to make it show up.

 The bird is punched from So Saffron cardstock using the Two-Step Bird punch.  The leaves are from that same punch.  I used the Photo Corners punch for the birdhouse top.  It's Soft Suede cardstock.
 I used stamp set FYI for the sentiment, stamped in Suede.  I colored the letters using the Peach Parfait and the Pear Pizzazz markers.
This card is cut 4.25" x 8.5" and folded to a 4.25" square. It fits a normal envelope so it's easy to mail.

This would be a good card for any occasion.  I hope you like this one!!
Smiles, Laura